
 Tiếng Việt
If you know how to make a basic flower, you can make a 3D Flower Pop Up Card which can be opened either horizontally or vertically. I left the inside undecorated so you can do it however you want. And here is your basic guideline.
You will need:
– thick cardboard for the base
– cardboard for the flower
– different cardboard scraps
– glue
– pens
Paper choice
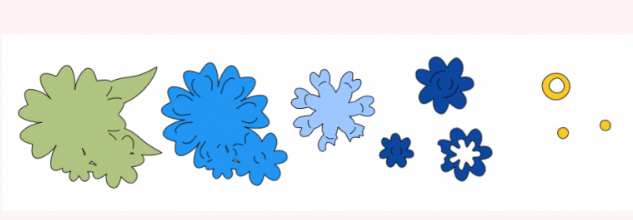
3D Pop Up Flower Card’s front is made with a scrap bin. They can be any weight. There are two main cards, one with pockets and one without. They can be the same paper or different. Base cards must be at least 110 pounds or heavier. The flower was made from 85-weight light blue cardstock (and a bit of yellow), but you can make it any color you want.
Cutting the 3D Poppy Card
As I said, there are two basic cards, one with cuts and one without. You need both to hide the tabs glued to the back. Many of the pieces are very good, so be careful when removing them from the carpet.
Pop-Up Card Assembly
This map is not as difficult to assemble as it looks. To begin, mount the butterflies and flower decorations on the front of the card without gaps on the base card. Fold the crease line again. Look at the picture where everything on the cover goes. Here is a drawing showing how to combine the flowers. Set the front base card aside for later use.
Assembling the second base plate
First, make sure that all the slots in the second base plate are completely cut. Next, take the base card and fold all the folds together again and the folds of the flower pieces (picture 1). Push the tabs of the largest flower through the widest slot and twist them back (pictures 2 and 2a). Continue with the tabs of all the other flower pieces, folding and gluing them out of the way (images 3 and 3a) You will need to move to the slits if necessary. Continue gluing them all until the flower is finished (pictures 4 and 4a). The largest petals can be glued to the base card or not. (This opens much better but restricts the other sides of the card)

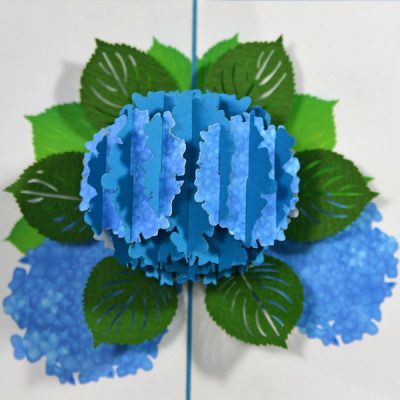
3D Flower Card The inner parts of the flower come out
Once the large flower is assembled and attached to the inner base card, attach the outer base card to the inner. basic card face. Make sure everything is working and in the right place. (I put the front on the wrong side of the base card and had to redo it.)
And your 3D popup flowers card is done. It fits in an A7 envelope for postal or hand delivery.
Some variations on the inside of the 3D flower popup
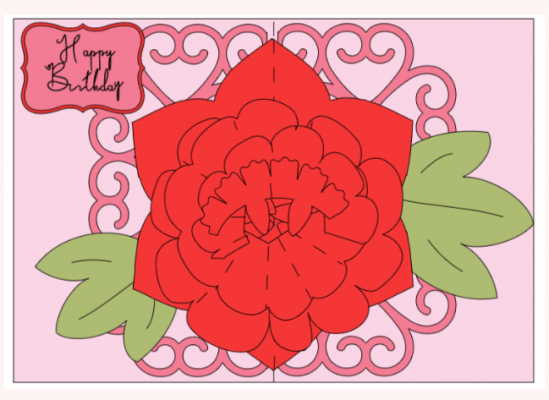
I made this happy birthday card with a background and label. It’s just an idea to decorate the card. You can also put leaves around the flower to decorate the inside. Use your imagination. Of course, to make a birthday card, the thank you should be turned into a Happy Birthday book on the front of the card.
You can also try embossing the central flower to add elegance. Use your imagination. I just learned how to make a basic map. Or try making two base cards from different papers. This can add color to the card. If you know how to make a basic flower inside, you can change your 3D popup flowers cards however you want!